
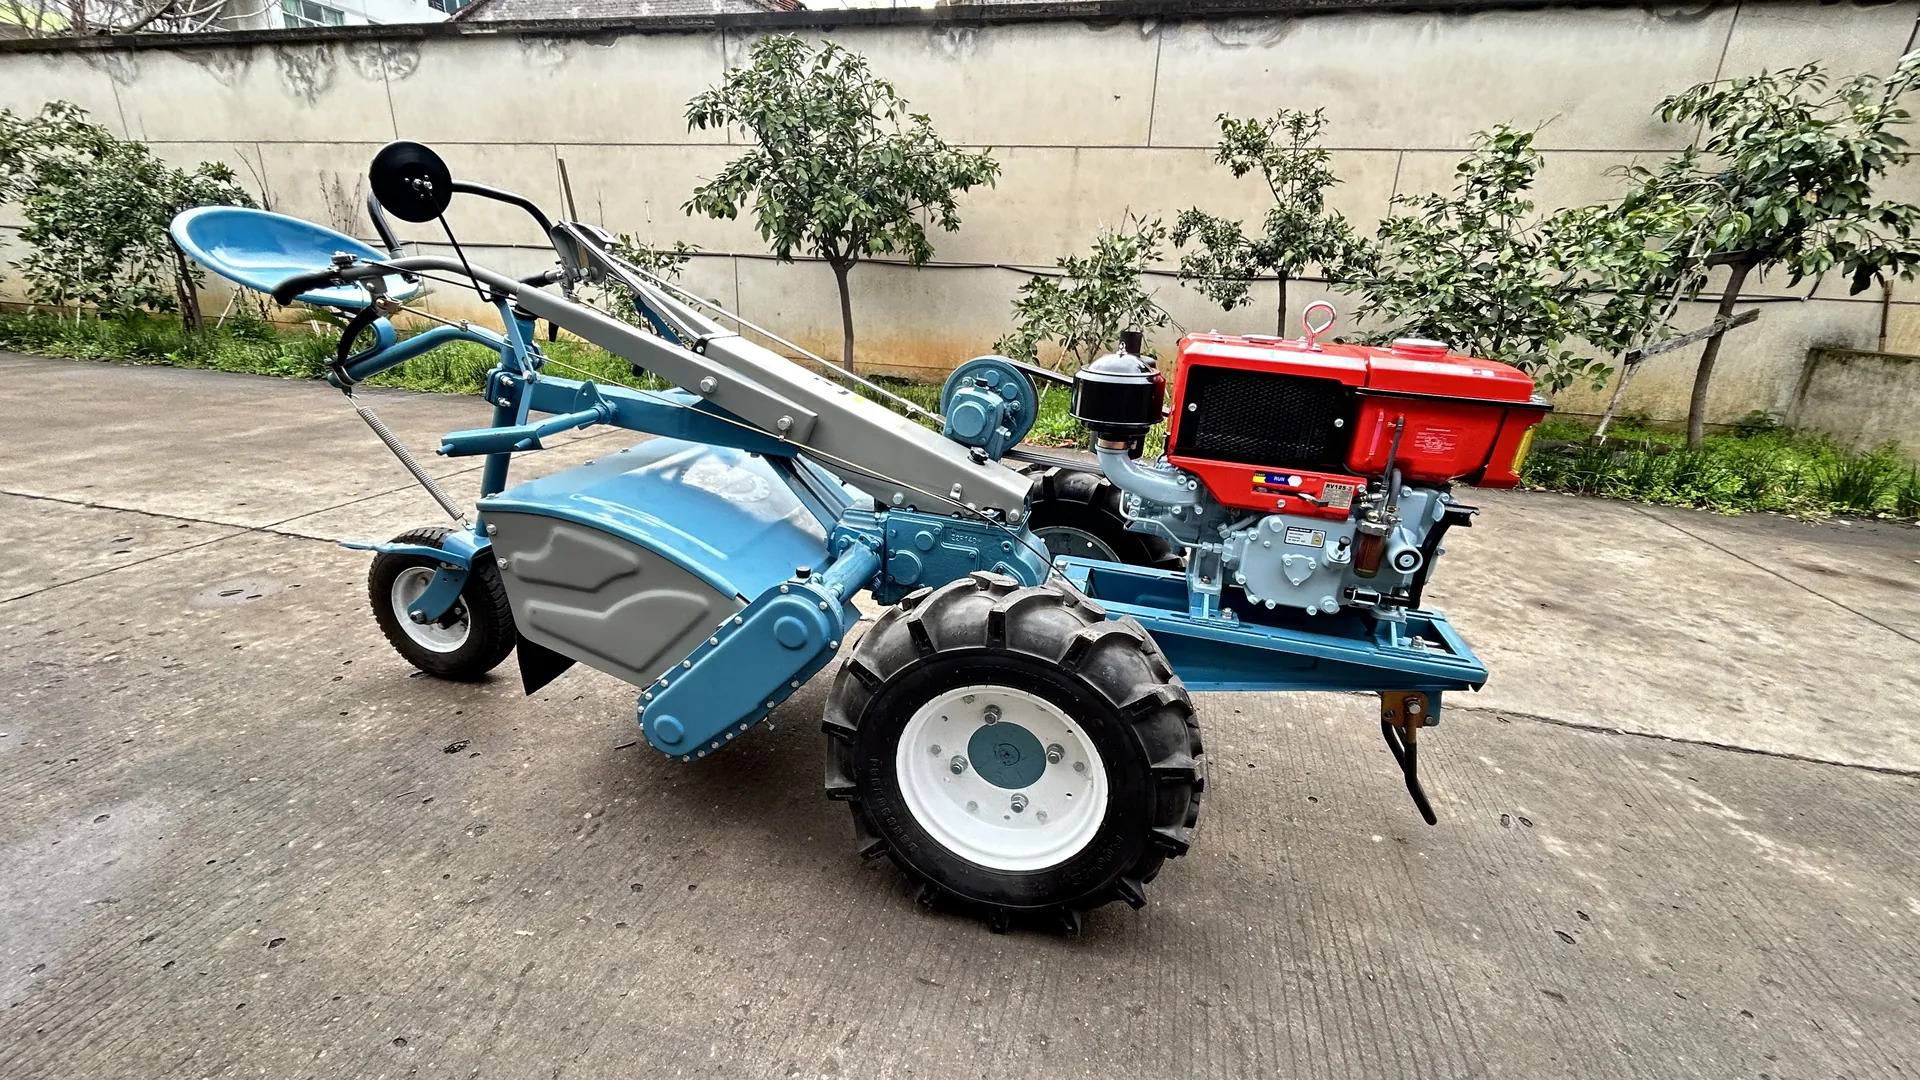
What field access and turning space actually mean
Field access is the narrowest point on the route the machine has to travel to reach the plot — gate, lane, bund gap, fence line or tree row — measured at the widest projection of the machine with its implements mounted. Turning space is the clear ground available at the end of a working run, the headland, where the operator stops, turns the machine and lines up the next pass. One decides whether the machine can get there at all; the other decides how much of the day is spent working rather than manoeuvring.
They fail in different ways. A machine that does not fit the access is not a slow machine, it is a machine still sitting on the road. A machine with too little turning space does get to work — and then loses time at every row end, all season.
That is why the field comes before the machine — which is the whole logic behind choosing a power tiller from field conditions. What follows is the part that is usually missing: the six numbers to take off the ground, how to take each one, and how to write them down so a supplier can work out the right configuration the first time.
The six measurements to take before you look at a machine
Four of these decide whether a machine can enter and work the plot. Two decide how much work a day actually contains.

# | What to measure | Where | Tool | Record as | What it can rule out |
|---|---|---|---|---|---|
1 | Narrowest access | Every gate, lane, bund gap and fence line between road and plot | Tape | mm (or in) | Any machine whose widest point exceeds the tightest passage |
2 | Working corridor | The smallest recurring gap the machine must work inside | Tape | mm, centre to centre | Machines whose working width cannot fit and still leave a walking line |
3 | Machine length with implements | Your intended implement set, mounted | Tape | mm | Machines that cannot be reversed clear of an obstacle |
4 | Turning space | The headland at the end of the longest run | Tape | m × m, clear ground | Machines that cannot turn without backing into a bund, ditch or fence |
5 | Slope | The steepest sustained gradient on the work route | Line level or phone | %, plus direction | Configurations that will lose traction or drift on the traverse |
6 | Plot shape and turn count | The plot outline | Sketch | Turns per pass | The share of the day that goes into turning rather than tilling |
Take the readings in that order. If number one fails, the remaining five describe a plot the machine never reaches.
Measure the narrowest access first
Access is a single-number problem, and the number is the tightest point — never the average, and never the widest gap on the route. A gate that measures 900 mm between the posts at the top and 760 mm at the sill is a 760 mm gate, because that is where the axle and the implement have to pass.
Two things about the machine set the target you are measuring against:
- The widest point is usually the handlebars, not the wheels. On a compact power tiller or walking tractor the operator's handle span is often wider than the drive wheels, and the wheels themselves can often be re-set narrower or wider on the axle. Measure the handle span before you decide a gate is too tight.
- An implement changes the shape, not just the width. With a rotary tiller or a trailer mounted, the machine becomes longer, and on any bend it sweeps a rectangle larger than its own footprint. Walk the route with the turn in mind.
Record the access figure with the implement in place, at ground level, and take a reading on both sides of any bund or drain the route crosses.
The numbers you write down here are the ones you will match against the machine's own dimensions, and the vocabulary for that is the same one used in reading a power tiller specification sheet: overall length, overall width, wheel track, and the width added by the implement you intend to fit.

Measure the space you have for turning
At the end of every run the operator has to stop, turn, and line up again. That manoeuvre happens in the headland, and the headland is where a plot that looked big enough on paper turns out not to be.
Measure two things, and measure them to the first real obstacle rather than to the boundary on a map:
- Usable length — from the centre of the last row to the first thing that stops you: a bund, a ditch, a wall, a fence, a tree line or a neighbouring crop.
- Usable width — the clear run along the boundary in which the machine can pivot or reverse.
How much of that the machine needs depends on how it turns. A walking tractor steers by hand on its own clutches, and most makes carry an independent drive clutch with separate steering clutches or brakes, as the IRRI Rice Production Manual's farm power lesson describes for this machine class — so the operator can pivot about one drive wheel and hold the turning radius small, instead of swinging the arc a four-wheel machine needs. Add a mounted implement and the shape you have to clear grows again, because a rotary tiller sits behind the wheels and follows the machine round the turn.
The figures most often repeated for walk-behind garden tillers are 3 to 5 ft (0.9–1.5 m) of turning space, with 5 to 7 ft (1.5–2.1 m) of headland preferred. They come from consumer gardening guidance, and we have not found a measured figure for a field-scale single-axle machine in the sources used here. Treat them as a floor for a light garden tool rather than a specification for a field machine: a single-axle machine working with an implement swings a longer shape than its own footprint.
Two notes before you write the number down. A headland ending in a drain or bund is not clear ground: measure past the obstacle. And note the surface — soft or rutted headland steals traction exactly when the machine needs it for the turn.
Measure the working corridor, not the row
This is the measurement most often taken wrongly, because it is tempting to measure the gap you can see. Measure instead the smallest recurring space the machine has to work inside, centre to centre — the narrowest pair of rows, beds, vines or bunds in the plot you actually intend to work.
Centre to centre, not edge to edge: bed edges move with every pass and every season, while row centres stay where they were planted.
The corridor has to hold three things at once: the machine's working width, the walking line the operator needs, and enough clearance that the machine does not ride up on the crop. That last part is worth checking against the implement rather than the machine — SARE's Steel in the Field entry on rotary tilling cultivators notes that on walk-behind units the high vertical sides limit how close the unit can work to a row under a broad canopy — a limit that holds whatever the blade width suggests.
Working width is the figure you compare the corridor against, and it is not always a single number. SUNTEC lists tilling widths of 480 mm and 600 mm side by side, and the customer specification sheet records the 600 mm configuration — so if your corridor only supports the narrower setting, say so in the record rather than assuming the wider one. Row and implement adjustment is the other half of this measurement, and CIMMYT's training manual for two-wheel tractor and ancillary equipment sets out how opener and row spacing is changed to match a crop.
Take three readings along the plot and keep the smallest. A corridor that narrows at one end is a corridor that narrows.
Record slope, shape and the six numbers
Two measurements remain, and both are about the day rather than the doorway.
Slope. Measure the steepest sustained gradient on the route the machine will actually work, as rise over run — a line level and string, or a phone inclinometer, both give you a usable percentage. Record the direction as well: a slope worked up and down the run behaves differently from one worked across it, and a cross-slope is where a machine with a trailed implement drifts.
Plot shape. Sketch the outline and count the turns. Field efficiency is a measure of how much of the day goes into working at full width, and Tillers International's guide to estimating tillage draft is explicit about what erodes it: time lost turning on the headlands, adjusting, repairing, and overlapping passes. Square plots lose least; small, triangular and irregular plots lose most. Sketching the plot and counting the turns takes ten minutes and predicts the season better than the area in hectares.
This page covers getting in and turning round. Working depth and the soil profile belong to the specification sheet and the soil-condition pages, so the record only needs the state of the ground on the day you work it — IRRI's manual notes rubber tyres for dry-land work and cage wheels for wet workings.
Then put everything on one sheet, in one unit system, stated once:
Field in the record | Unit | Note |
|---|---|---|
Narrowest access | mm | Tightest point on the route, implement mounted |
Working corridor | mm, centre to centre | Smallest recurring gap, three readings, keep the smallest |
Machine length, implements mounted | mm | Include the implement and the handle overhang |
Turning space | m × m | Clear ground to the first obstacle, plus surface note |
Slope | % | Steepest sustained section, plus up/down or across |
Plot shape and scale | sketch | Outline with turns per pass marked |
Soil and moisture at the working period | description | The condition during the work, not the soil name |
Primary job and expected workload | description | Seedbed, inter-row cultivation, transport |
A record in millimetres gets answered in millimetres; a record in feet is converted somewhere in the chain, and that is where errors enter. Pick one system, write it at the top of the sheet, and convert before you send.
If your enquiry is going to a manufacturer or an importer rather than to a local dealer, it is worth reading what a power tiller datasheet should include in parallel: the field facts you measure and the machine facts you should be given are two halves of the same conversation.
Most of these inputs are the ones the main site's free field fit checklist is built around, so the field facts transfer straight into it — except slope, plot shape and machine length, which have no field there.
The short version
Six numbers decide whether a plot and a machine are a match: the narrowest access on the route, the smallest working corridor, the machine's length with implements mounted, the clear turning space at the row end, the steepest sustained slope, and the plot shape with its turn count. Measure the tightest points rather than the averages, measure with the implements mounted, and write everything on one sheet in one unit system.
Anything you cannot measure yet, leave blank on the sheet rather than filling in an estimate. A visible gap is a question worth asking; a guessed number is a specification nobody can correct.
If you have the six numbers, send us the six measurements with your market and intended work, and the configuration discussion starts from your field instead of from a catalogue page.